Streamline Your Podcast Recording & Editing Workflow
It's finally time to start recording your content! For this you’ll need a tool you can record as well as edit with. The quality of your recordings depends not only on your voice, but also on the correct application of the recording technique and the post production possibilities.

Top 3 most popular podcast recording tools
These are our top three picks for podcast recording software. But, there are many other options, so feel free to explore those see which one best suits your needs!
Audacity for PC and Mac | Free
At first sight, Audacity doesn’t look all that inviting. But it can do everything you need for good podcasts and is free, open-source software excellent for podcasters.
- Ease of Use | Audacity boasts an intuitive user interface that is easy to navigate, even for beginners. This makes it an ideal choice for those looking to get started with audio editing.
-
Versatile Recording & Editing Features | Audacity allows users to record live audio, convert tapes and records into digital formats, and edit a wide range of audio files. The software also supports multi-track mixing, allowing for greater flexibility in audio projects.
- Broad Compatibility | Audacity supports a wide variety of audio formats including WAV and MP3, which is the recommended file type for podcasts. The software is also cross-platform, running smoothly on Windows, MacOS, and Linux systems.
GarageBand for Mac | Free
GarageBand is also free and usually comes pre-installed on a new Mac. It’s a bit cleaner and more minimalistic than Audacity, and for Mac users it is almost certainly a better choice, even though there is an Audacity for Mac.
-
User-Friendly Interface: GarageBand boasts a highly intuitive and user-friendly interface. It's clean and streamlined design and makes it easy for beginners to navigate and understand.
-
Pre-installed Loops and Effects: GarageBand offers a wide assortment of pre-installed music loops and sound effects, which podcasters can conveniently use in their episodes to add depth and texture.
- Seamless Integration with Apple Ecosystem: GarageBand provides seamless integration with other Apple products and services. Podcasters using other Apple devices or software will find it easier to sync and collaborate on GarageBand. While
Hindenburg | Paid
Hindenburg is easy to learn and is made specifically for recording the spoken word (the other tools on this list are mostly made with music in mind). Here are some of it's stand-out features:
-
Multitrack Editing: Hindenburg's multitrack editing feature allows simultaneous management of multiple audio tracks, auto-adjusting for optimal sound.
-
Session Templates: The software outperforms GarageBand and Audacity by offering advanced session templates for predefined, saved setups, facilitating future projects.
-
One-click Publishing: Users can publish podcasts directly from Hindenburg to their host sites, eliminating the need for file transfers.
- Automatic Leveling: The software automatically levels soundtracks, a feature often absent in other digital audio workstations (DAWs), to balance different audio track volumes for a more professional output.
Basics of good podcast mic technique
Good mic technique is a simple but important thing to consider as you record. And fortunately, all it really takes is being a little mindful as you record.
Some things to keep in mind:
- Maintain a distance of about 6-12 inches from the microphone.
- Keep a consistent position relative to the mic to avoid volume fluctuations.
- Keep an eye on the levels as you record and adjust if the mic volume is blown or too low at any point.
Bonus resource: The Complete Guide to Mic Technique

Imposter syndrome: “Is that really my voice?”
As a new podcaster, you might have moments of feeling a bit of imposter syndrome–especially as you hear your voice back which can sometimes lead to feelings of insecurity.
- Cultivate mindfulness to combat self doubt and focus on your message.
- Build a network of podcasters for shared experiences and mutual encouragement.
- Recognize your unique voice and perspective, being patient with the learning process.
Despite the initial discomfort that can come up when hearing your own voice during playback, it's important to give yourself credit for your distinct voice and perspective. Dealing with these feelings can be a great opportunity for transformation and personal growth.
3 Tips for efficient recording sessions
While it may be tempting to jump right into recording without much planning, taking the time to establish a streamlined process can greatly enhance your experience and save you valuable time in the long run. Let's break down three tips that can help set you up for success and a streamlined recording workflow.

#1. Test your audio levels before recording
To ensure that your podcast sounds professional and polished, it's important to do a sound test before recording your official episode. This will not only help you identify any potential technical issues, but also give you a chance to adjust your equipment and make sure everything sounds just right.
Once you have your equipment set up, you can do the following to check your levels:
-
Do a microphone check: Speak into your microphone at different distances and volumes to make sure it's picking up your voice clearly and without distortion.
-
Record a short test segment: Before starting your official recording, do a trial run and listen back to the audio to make sure everything sounds good.
-
Experiment with different settings: Depending on your microphone and recording software, you may need to play around with different settings like gain, EQ, and noise reduction to find the optimal sound quality.
A sound check only takes a few minutes and it can greatly improve the overall quality of your podcast!
#2. Edit as you go: The MIMIC technique
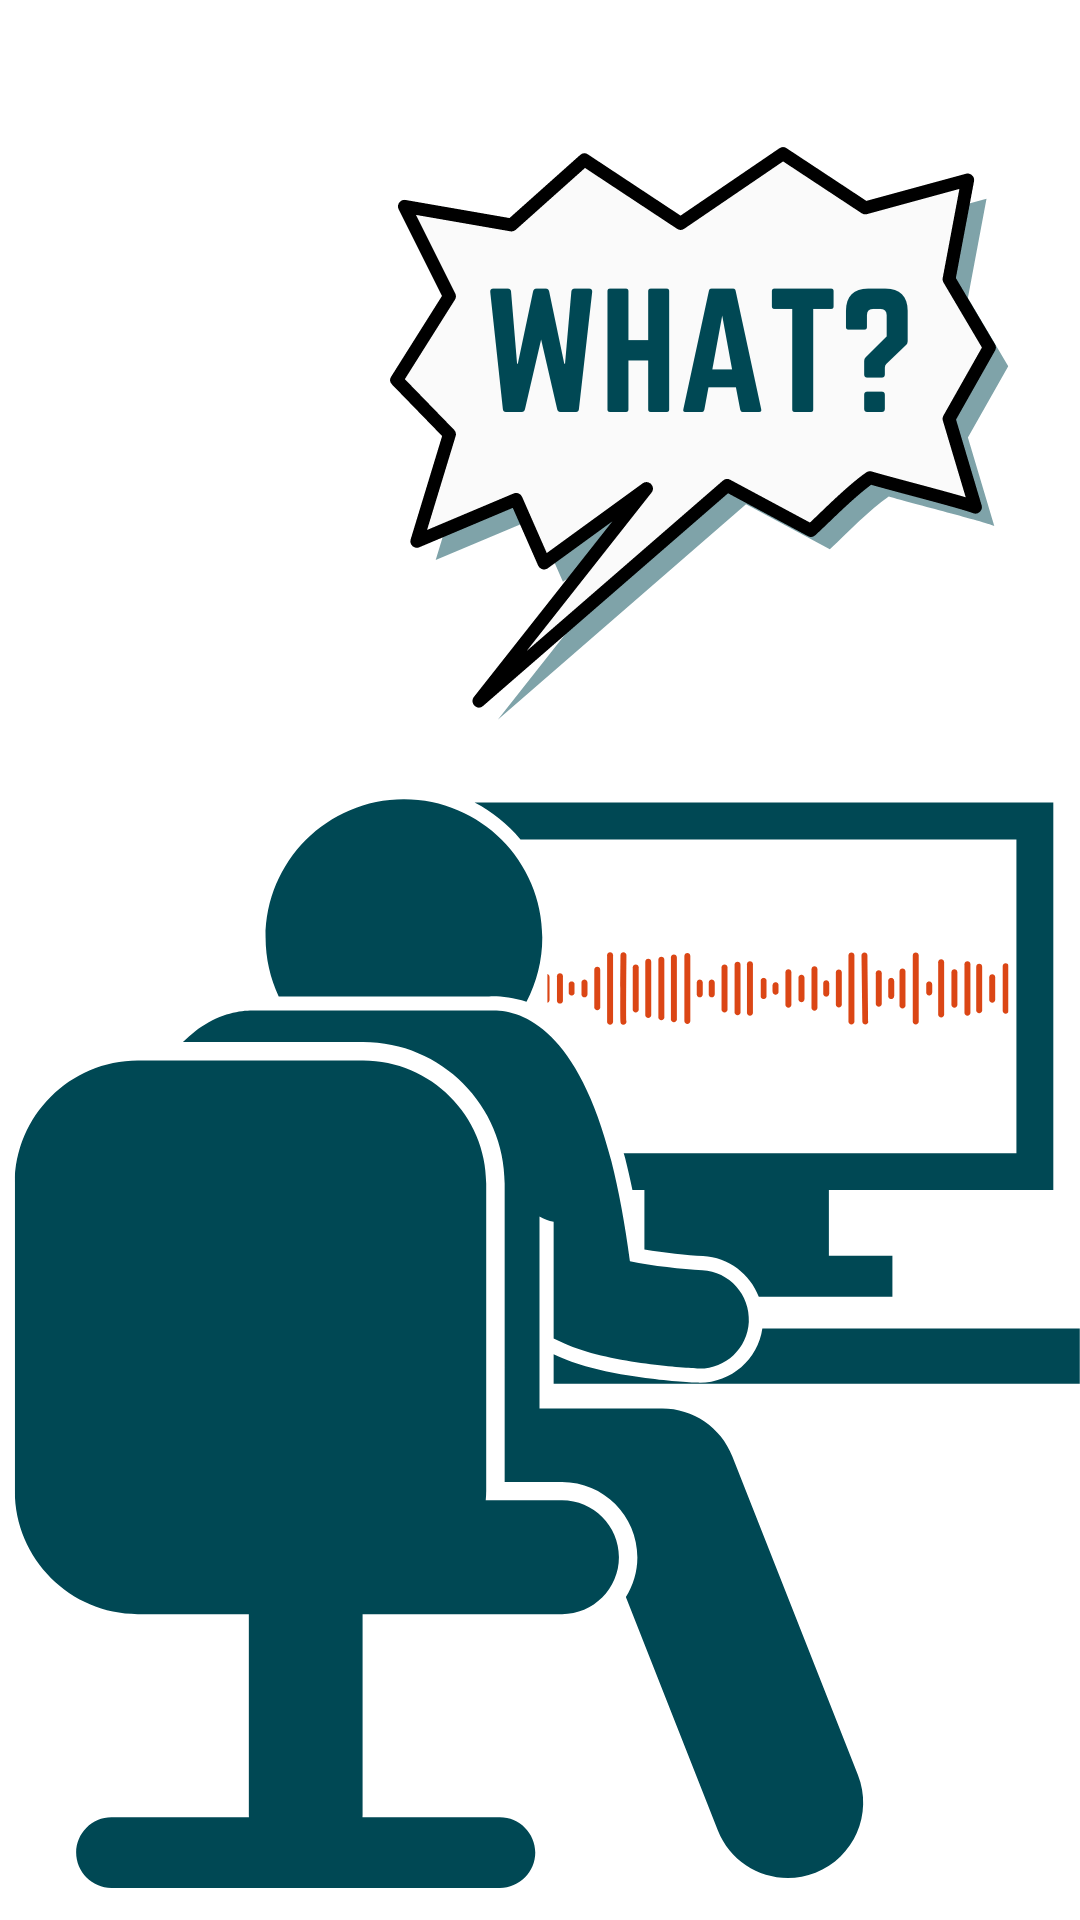
There are going to be disturbances and slips of the tongue. Even after a hundred episodes, you are going to make mistakes that you want to edit out. The same goes for podcast interviews.
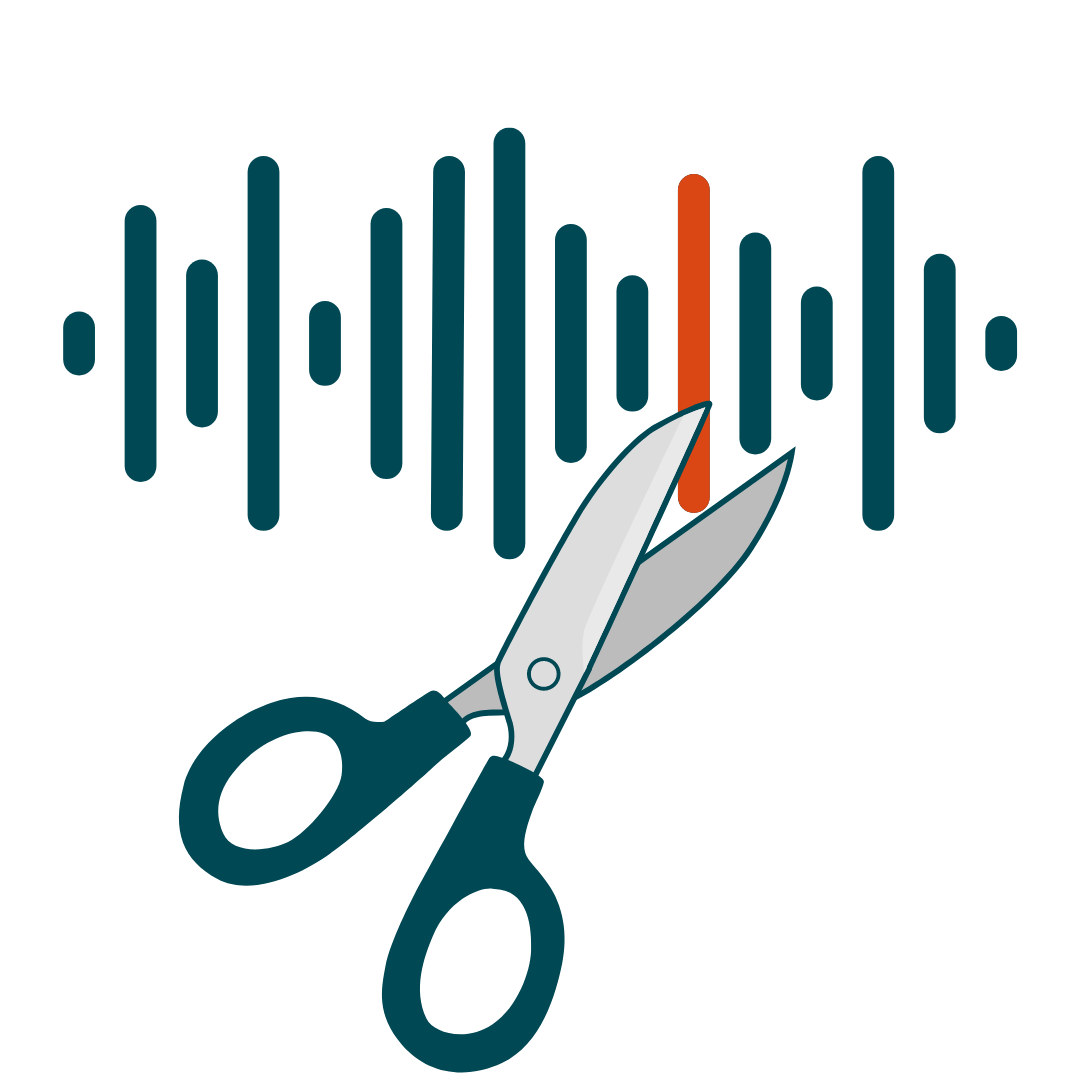
To keep you from having to listen to the whole thing all over again to find mistakes, and speed your way through postproduction, there is the MIMIC method (By me, Gordon Schönwälder, Podcast-Evangelist at Podigee). It’s a way to visually mark passages that need to be edited out.
How does it work?
Let’s say you flubbed a word or a delivery person rang the doorbell while you were recording. Here’s what to do:
- M = Mark. Clap your hands a couple of times or tap the microphone. This makes a clearly visible spike in the oscillogram.
- I = Instruct. Give verbal editing instructions in the mic. Recording should continue the whole time. Your edit instructions might be something might something like, “Redo that last bit” or “Delete throat-clearing.” The instructions can be for you, or for an editing service.
- M = Mark again. Your second mark is the signal that editing instructions are over and you are resuming podcasting.
- I = Interval. Leave a short interval after the second mark, 1 or 2 seconds. That’s enough time to make a clean cut in post-production.
- C = Continue. After the interval, continue with your podcast.
This trick helps you save an incredible amount of time in post-production. If you consistently mark every slip of the tongue while you record, all you have to do is jump from marker sequence to marker sequence and make the correction.
#3. Have a back-up recording (or use cloud-based software)
Having a backup recording or using a cloud-based recording tool is ensures your content is safe and can be accessed at any time, even in the event of technical difficulties or hardware failures.
With a backup recording, podcasters have peace of mind knowing that they will not lose their hard work and can continue to deliver high-quality episodes to their listeners.
If you don't have cloud-based software, you can record on a second device, like a phone or tablet as a backup in case there are any issues with your primary recording device.
How to export your podcast audio files
Podcasters need to ensure that their audio files are exported in a way that guarantees optimal sound quality and accessibility. To do this:
- Export file as MP3. For podcasting, the MP3 format as it is the industry standard. This file type has broad compatibility, respectable sound quality, and a smaller file size.
-
Choose the correct bit-rate. A bit rate determines how much data can be transmitted per second. For podcasters, having a high bit rate is important for ensuring the quality of their audio recordings. When exporting a podcast episode, the industry-standard bit rate is 128 kbps (kilobits per second). This bit rate strikes a balance between file size and audio quality.
-
Include ID3 tags. They are metadata embedded directly into the MP3 file that provides important information such as the title, the artist, the album, and more. Having these tags is key to searchability and organization within podcast directories.

Super, part 7 is finished! ✅
Continue now with Part 8 : Choose a Podcast Hosting Service: Tips for selection and setup
How To Start a Podcast: The Definitive Guide
- Part 1: Create a Captivating Podcast Concept
- Part 2: Make Your Editorial Calendar
- Part 3: Choose the Right Podcast Equipment for You
- Part 4: Brand Your Content: Find the perfect title, music, and artwork
- Part 5: Prepare the Perfect Podcast Recording Studio
- Part 6: Record Your First Episode: Scripting, style, and storytelling
- Part 7: Streamline Your Recording & Editing Workflow
- Part 8: Choose a Podcast Hosting Service: Tips for selection and setup
- Part 9: Maximize your Podcast Reach: Publish to Apple Podcasts, Spotify, Amazon, and other platforms
- Part 10: Learn Powerful Podcast Promotion Strategies
Start your podcast today with Podigee
.png)
- Publish your podcast in just a few clicks: on Spotify, Apple Podcasts, Youtube and everywhere else where podcasts are available.
- Unlimited storage for your podcasts, secure and privacy-compliant, detailed playback analytics.
- Outstanding support at every step of your podcast journey, right from the start.